Scream And Run Hiding Spots Ranked
S-tier is a pause. F-tier is a highlight clip for the hunter.
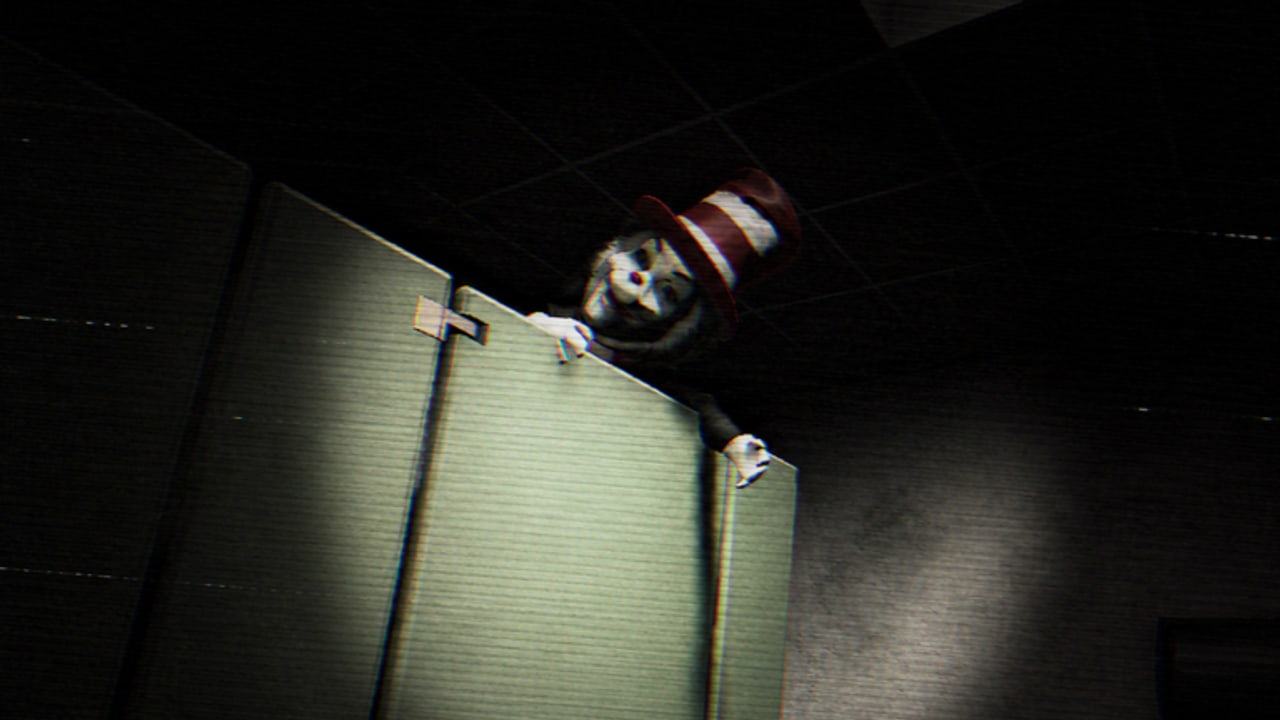
Hiding in Scream And Run is a movement option, not a win condition. Escape still needs keys. Hide And Seek is the playlist where a hide can be the whole round. This list ranks spots by how often they survive a competent Cat in the Hat check in a 50-player school. It uses geometry the official mode list implies — classrooms, halls, backpacks — not invented room IDs.
Pair this with controls. A S-tier corner at full height is a B-tier corner. Crouch (C) is assumed.
S-tier — two-exit classrooms
A classroom with a door on two walls lets you take a check and leave. Sit at crouch height off the window line. Do not hide in the doorway; hide on the desk side opposite the last door the hunter used. If both doors swing and you hear the second, you already stayed too long. Relocate to the next classroom cluster, not to the main hall.
These rooms are also loot rooms. If you are in Escape, hide here between backpack sweeps, not instead of sweeps.
A-tier — stair undersides and wall backpack nooks
Stair geometry breaks silhouettes. Wall backpack nooks break flashlight reads if you are already dark. Both fail if you interact forever. A backpack search should be a second, not a camping spot. If the hunter is a stair camper, these drop to C. Rotate.
Slide (Shift + C) is how you leave a landing without presenting a full-height target. Practice that in Free Roam.
B-tier — bathrooms and single-door offices
Single-door spaces feel safe and then become boxes. Use them to break line of sight for one roam cycle. Do not AFK. Bathrooms are the first ‘clever’ check every new hunter learns after they get tired of halls. If you must use one, crouch immediately and leave after the footsteps pass.
C-tier — locker lines and window halls
Lockers are visual clutter. They are not confirmed interactable hides unless a patch adds that — do not assume a locker animation will save you. Window halls let the hunter see a flashlight or a head from the next junction. If you must cross, pulse nothing and crouch.
F-tier — spawn, main hall, stacked teammates, beam corners
Spawn is where people still hold Shift. Main hall is the Cat in the Hat’s job. Stacked teammates are a single scream of physics. Corners with F held down are signposts. If your hide needs a teammate’s body to work, it is not a hide.
Push Pass users will shove you out of S-tier into F-tier for a joke. Leave their rooms. See gamepasses.
Hunter-side use
If you are the Cat, invert the list. Check S-tier rooms first, glance A-tier stairs, ignore F-tier only after you have already farmed it. Full hunter routing is Play as the Cat. Identity and audio tells are on the hunter page.
Mode notes
Hide And Seek: stay in S and A, relocate after a check. Escape: use S-tier as a pause during a chase, then return to loot. No Power: A-tier wall nooks rise because beams are rarer; S-tier classrooms still win because of the second door. Details in No Power and Hide And Seek.
If a studio update adds lockers that close, this list will move them. Until then we will not invent a locker meta. Track changes on release notes.
Frequently Asked Questions
Quick answers to the most common questions.
Where should I hide from the Cat in the Hat?
Prefer a two-exit classroom at crouch height. Leave after a close check. Do not AFK in a main hall.
Are lockers safe?
We have not confirmed a locker hide animation. Treat locker lines as clutter, not as a guaranteed save.
Should I hide with friends?
No. Stacks make one check into two kills. Split rooms and call hunter direction instead.
Does hiding finish Escape?
No. You still need keys. Hiding only buys the time to loot. See how to escape.